Installing performance parts at home means upgrading your vehicle’s power, handling, or efficiency yourself by following proven procedures and using the right tools. This guide covers the full process: workspace setup, step-by-step installation for popular upgrades like front-mount intercoolers and oil pump swaps, common mistakes to avoid, and post-install testing. Whether you’re a weekend wrench-turner or a seasoned builder, you can complete most home performance upgrades safely and effectively with the right preparation.
How to install performance parts at home: what you need before you start
The single biggest predictor of a successful DIY installation is preparation, not skill. Most failed builds trace back to a missing tool, an incompatible part, or a workspace that was never set up properly.
Must-have tools for DIY performance work
Every home mechanic needs a core set before touching a performance part:
- Basic hand tools: metric and standard socket sets (3/8-inch and 1/2-inch drives), combination wrenches, screwdrivers, and pliers
- Torque wrench: non-negotiable for any fastener with a spec. Under-torquing causes leaks; over-torquing strips threads.
- Penetrating oil (PB Blaster or equivalent): apply to rusted or seized bolts 24 hours before the job. Skipping penetrating oil on old hardware is one of the most common causes of stripped threads and broken studs.
- OBD-II scanner: required for any installation that touches engine management or sensors
- Parts organizer or labeled zip-lock bags: keep every bolt, clip, and bracket sorted by removal sequence
- Floor jack and jack stands rated for your vehicle’s weight
- Shop rags, nitrile gloves, and a fire extinguisher nearby
Kit components rarely include everything you need. Budget for extra gaskets, adapters, bleed kits, and specialty tools beyond what the box contains. Read the full installation documentation before you buy the part, not after it arrives.
Pro Tip: Label every connector, hose, and bracket with masking tape and a marker as you remove it. Reassembly confusion costs more time than the install itself.
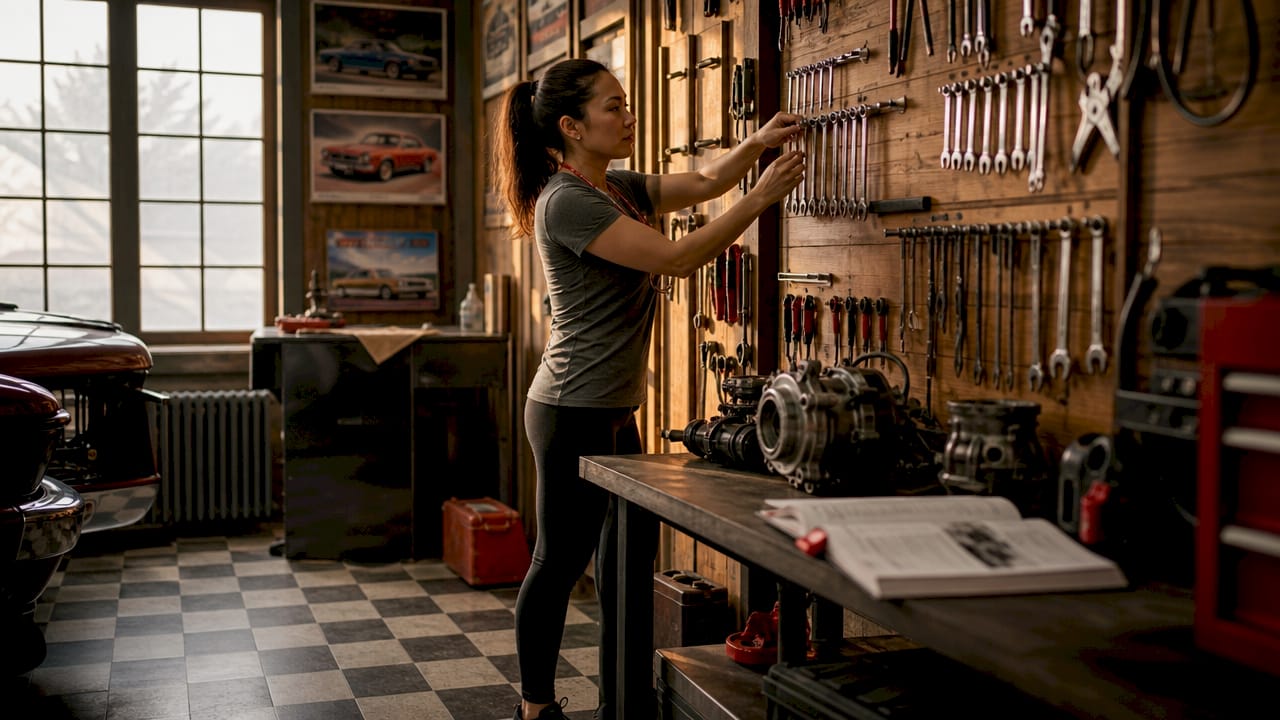
Workspace setup
Work in a clean, level, well-lit space with at least 6 feet of clearance around the vehicle. Good lighting catches fitment issues that dim garages miss. Keep a parts diagram or printed installation guide within arm’s reach throughout the job.
Step-by-step installation for popular performance upgrades
Two of the most common DIY performance upgrades are the front-mount intercooler (FMIC) and the oil pump swap. Both are achievable at home, but each has specific steps and clearance requirements that determine success.
Front-mount intercooler installation
A front-mount intercooler is a manageable weekend project when you follow clearance and fitment rules. The intercooler must sit at least 10–15mm from the radiator or AC condenser to prevent heat transfer and physical damage.
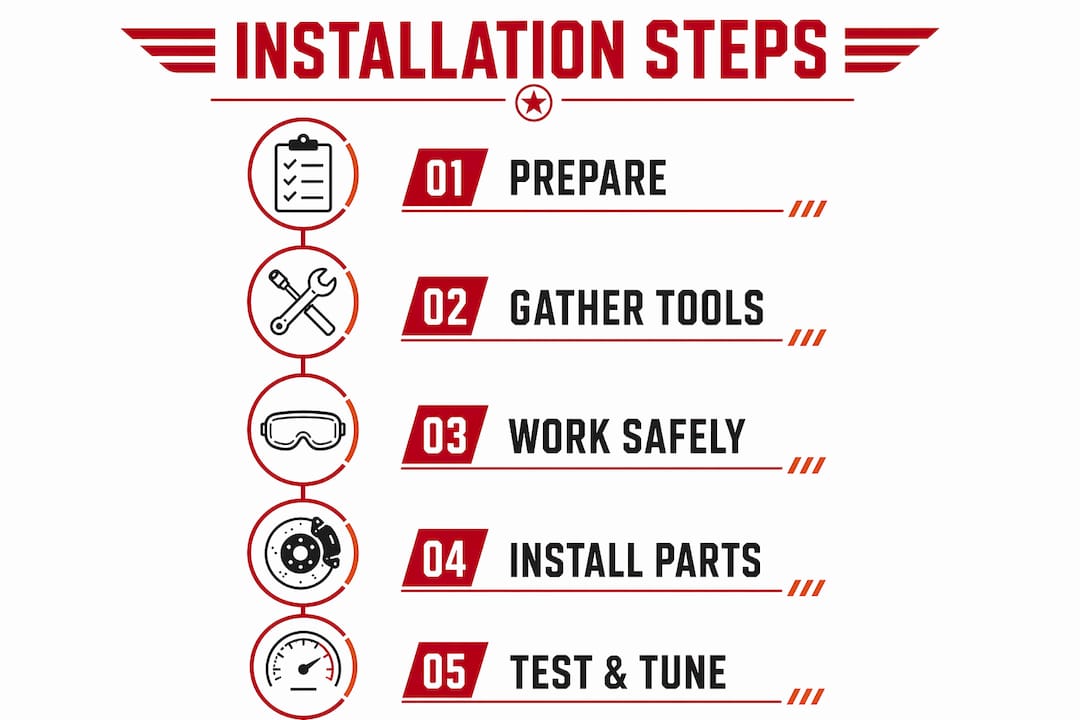
Follow these steps in order:
- Disconnect the battery and allow the engine to cool completely before starting.
- Remove the front bumper by unclipping the lower fascia, disconnecting fog light connectors, and pulling the bumper cover free from its mounting tabs.
- Loosen and remove existing intercooler piping by releasing the hose clamps and disconnecting any sensors attached to the charge pipes.
- Check blow-off valve placement before routing new piping. The BOV must sit on the pressure side of the system.
- Mount the intercooler core to the front crash bar using the supplied brackets. Verify the 10–15mm clearance gap from the radiator before tightening.
- Route new charge pipes through the engine bay, checking for contact with hot surfaces, moving belts, or sharp edges.
- Secure all clamps and reconnect sensors. Torque clamp bolts to spec rather than hand-tight.
- Reinstall the bumper, reconnect the battery, and perform a boost leak test before driving.
Oil pump swap for high-power builds
An oil pump swap is a precision job. Critical engine modifications like this require specialized kits that typically include a modified windage tray, spacers, and block-off plates. Rushing any step risks oil starvation at high RPM.
The process requires draining the oil, removing the oil pan, unbolting the factory pump, and fitting the new unit with fresh gaskets. Torque every fastener to the manufacturer’s specification. Refill with fresh oil, run the engine at idle, and check for leaks before any load.
Upgrade complexity at a glance
| Upgrade | Skill level | Typical time | Key risk |
|---|---|---|---|
| Cold air intake | Beginner | 1–2 hours | Sensor reconnection |
| Front-mount intercooler | Intermediate | 6–10 hours | Clearance and boost leaks |
| Oil pump swap | Advanced | Full day+ | Oil starvation if misfit |
| Turbo kit install | Advanced | Weekend+ | Heat routing, fuel mods |
What are the most common mistakes when installing performance parts?
The most dangerous misconception in DIY performance work is that “bolt-on” means plug-and-play. DIYers consistently misread “bolt-on” as a guarantee of zero complexity. The reality is that most bolt-on parts still require fitment checks, minor fabrication, and sometimes tuning.
Fitment and fabrication surprises
Even parts marketed for a specific vehicle sometimes need bracket modifications or spacers. DIY turbo projects in particular require custom oil routing, heat shielding, and intercooler placement that no kit fully solves out of the box. Plan for at least one trip to a hardware store mid-install.
Sensor and hose connection errors
Swapped or loose sensor connections are the leading cause of check-engine lights after a performance install. Always reconnect sensors before closing up the engine bay and scan for codes immediately after the first startup.
“Experts urge consulting professionals for complex systems like engine timing or fuel delivery. Mistakes in these areas cause catastrophic engine damage that no amount of research fully prevents for first-timers.”
Pro Tip: Take a photo of every sensor, hose, and connector before you remove it. Your phone’s camera is the best wiring diagram you have.
When to stop and call a professional
Stop the job and call a professional mechanic when:
- The installation requires cutting or welding structural components
- Engine timing or fuel delivery systems are directly involved
- You find unexpected damage (cracked blocks, stripped threads, corroded wiring) mid-install
- The vehicle throws persistent fault codes you cannot diagnose with an OBD-II scanner
Knowing your limit is not a failure. It prevents a $300 part from becoming a $3,000 engine repair.
How do you test and maintain performance upgrades after installation?
Post-installation testing is where most DIY mechanics cut corners, and where most problems surface. A thorough check after every performance upgrade protects both the part and the engine.
Diagnostics and first-drive checks
Run an OBD-II scan immediately after startup. Any new fault codes point directly to the installation area. Clear codes only after confirming the root cause, not before. On the first drive, stay below 3,000 RPM for at least 10 minutes to let new components seat and allow you to catch leaks or unusual sounds early.
Tuning requirements
Hardware changes that affect airflow, fuel delivery, or engine load almost always need a corresponding software tune. Truck performance builds typically require tuning devices that run on Windows laptops and adjust ECU and transmission parameters. For a deeper look at how software changes interact with hardware, the performance chip explained guide from Ozkonickustomz covers what to expect from ECU-level changes.
Ongoing maintenance checks
- Inspect all new clamps and fasteners after the first 500 miles for loosening caused by heat cycling
- Check for oil or coolant seepage around any new gaskets or fittings weekly for the first month
- Re-torque critical fasteners (oil pan bolts, intercooler brackets) at the first oil change after installation
- Log any changes in fuel economy, idle quality, or boost pressure as early warning signs
Key takeaways
Successful home performance upgrades depend on preparation, correct fitment, and post-install verification far more than raw mechanical skill.
| Point | Details |
|---|---|
| Prepare before you buy | Read full installation docs and source extra hardware before the part arrives. |
| Clearance is non-negotiable | Front-mount intercoolers need 10–15mm from the radiator to prevent heat damage. |
| “Bolt-on” is not plug-and-play | Most performance parts require fitment checks, minor fabrication, or tuning. |
| Scan after every install | Run an OBD-II check immediately after startup to catch connection errors early. |
| Know when to stop | Engine timing and fuel delivery work carries catastrophic risk for first-timers. |
The honest truth about wrenching at home
The DIY performance world has a tendency to make every build look clean and fast on video. The reality is messier and more rewarding. I have seen enthusiasts spend an entire Saturday on a “two-hour” cold air intake because a single rusted bolt refused to cooperate. That is not failure. That is the job.
What separates a successful home builder from a frustrated one is not talent. It is the willingness to read the installation guide twice before picking up a wrench, to label every connector before pulling it, and to accept that some jobs require a professional. The satisfaction of hearing your engine respond differently after work you did yourself is real. But it only feels good when the car runs right.
My honest advice: start with lower-complexity upgrades like intakes or intercoolers before attempting oil pump swaps or turbo kits. Build your confidence and your tool collection together. And source parts from suppliers who verify fitment before shipping, because a wrong-fitment part wastes a weekend and damages trust in the whole process. Ozkonickustomz sources directly from vetted manufacturers for exactly that reason. Guaranteed compatibility is not a marketing line. It is the difference between a clean install and a parts-return nightmare.
— Ozkonic Kustomz
Performance parts for your next home build
Ozkonickustomz carries aftermarket performance parts sourced directly from vetted manufacturers, with guaranteed fitment for trucks, performance builds, and off-road rigs.
Every order comes with expert support and fast shipping, so you spend your weekend wrenching instead of waiting. From intercoolers to specialty fittings, the full parts catalog covers the hardware you need for your next home installation. For heavy-duty builds, the Air Lift rear suspension kit is a strong starting point for truck owners looking to add load capacity alongside performance upgrades. Straightforward returns and real product support back every purchase.
FAQ
What tools do I need to install performance parts at home?
A torque wrench, OBD-II scanner, metric and standard socket sets, penetrating oil, and a parts organizer cover the core requirements. Most kits do not include every necessary tool, so review the installation documentation before buying.
Is it safe to install a front-mount intercooler yourself?
A front-mount intercooler is a manageable DIY project when you maintain at least 10–15mm of clearance from the radiator or AC condenser and follow a stepwise removal and reinstallation process.
What does “bolt-on” actually mean for performance parts?
“Bolt-on” means the part attaches without cutting or welding, but it does not mean zero complexity. Most bolt-on upgrades still require fitment checks, sensor reconnections, and sometimes a software tune.
When should I hire a professional instead of doing it myself?
Hire a professional when the job involves engine timing, fuel delivery systems, or structural cutting and welding. Mistakes in these areas cause engine damage that far exceeds the cost of professional labor.
Do performance upgrades always require tuning after installation?
Any modification that changes airflow, fuel delivery, or engine load typically requires a corresponding ECU tune. Running upgraded hardware without a matching tune can reduce performance and cause long-term engine wear.