For most restoration and custom-build projects in the U.S., a Painless wiring harness is the right call. The brand has earned its reputation on three things that matter most to builders: automotive-grade TXL wire that handles heat and tight routing, wires labeled roughly every 12 inches so you can trace circuits without a wiring diagram in hand, and pre-terminated fuse blocks that arrive ready to mount. The Pro-Series kits add OEM-style fuse block options and higher circuit counts for builds that need more. If you’re wiring a bare-metal restoration, an LS swap, or an EFI conversion, Painless belongs on your shortlist.
Where Painless may not be the answer: highly specialized race builds with custom ECU integrations, or projects where a factory-style plug-and-play harness from the OEM is still available and cheaper. For everyone else, the combination of documented specs, solid support, and a wide fitment catalog is hard to beat.
Ideal buyers:
- DIY builders with moderate electrical skills tackling a full chassis rewire
- Restoration shops replacing cracked, brittle factory harnesses on classic cars and trucks
- Hot rod and muscle car builders starting from a bare frame
- Enthusiasts doing an LS or modern EFI swap who need a harness that accommodates a PCM
Key Takeaways
A Painless wiring harness is the most practical choice for U.S. restoration and custom builds when you match the kit type to your vehicle, plan your circuit count generously, and treat grounding as a first-class part of the job.
| Point | Details |
|---|---|
| Match kit type to your project | Vehicle-specific harnesses for restorations; universal or Pro-Series for custom builds and high-accessory installs. |
| TXL wire and labeling are the core specs | Cross-linked polyethylene insulation handles heat; wires labeled every ~12 inches make troubleshooting fast. |
| Grounding drives reliability | Dedicated ground paths for engine, body, and chassis prevent most post-install electrical failures. |
| Budget time for disassembly, not just wiring | Dash removal, carpet pull, and routing typically take longer than terminating the harness itself. |
| Ozkonickustomz for parts and support | Stocks Painless harnesses, terminals, ground straps, and complementary parts with verified fitment and pre-sale help. |
Table of Contents
- What types of Painless wiring harnesses are there?
- What specs actually matter in a Painless harness?
- How much do Painless kits cost, and how long does install take?
- How do you pick the right Painless harness for your build?
- What do experienced installers do differently?
- What do Painless product listings look like when you’re shopping?
- Where should you buy a Painless harness in the U.S.?
- What does the Painless warranty cover, and what happens if something goes wrong?
- Why Ozkonic Kustomz recommends Painless harnesses for most builds
- Ozkonickustomz carries Painless harnesses and the parts to complete your build
- Sources
What types of Painless wiring harnesses are there?
Painless Performance organizes its product line into a few distinct families, and picking the wrong category is the most common shopping mistake.
Universal chassis harnesses are the workhorse of the lineup. They cover a broad range of vehicles and give you the flexibility to route wires your way. These kits come grouped into pre-bundled wire runs, which speeds up routing considerably. According to the Del City blog, Painless universal harnesses arrive grouped into multiple bundles with pre-terminated fuse blocks and corrosion-resistant terminals already installed.
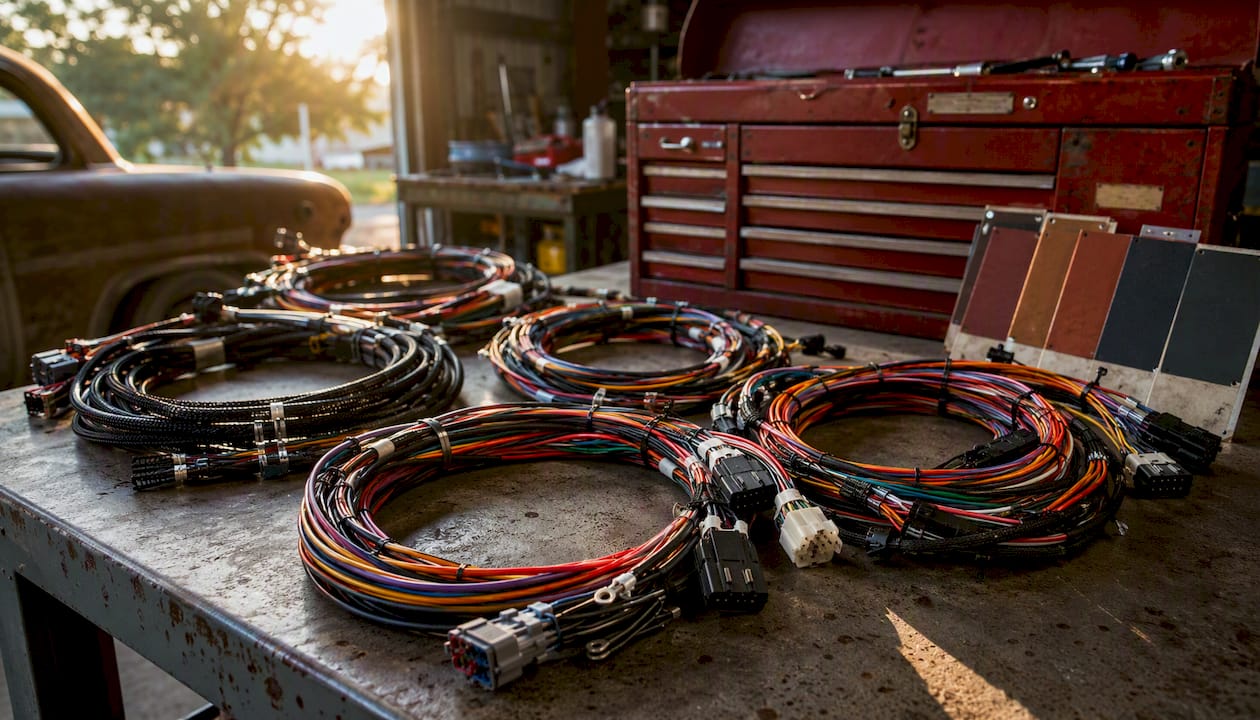
Vehicle-specific chassis harnesses are direct-fit kits engineered for a particular make, model, and year range. Think 1965–66 Mustang, 1967–77 Ford truck, or 1967–68 Camaro/Firebird. The connectors, circuit count, and routing lengths are matched to that vehicle, so you spend less time measuring and cutting. These are the better pick for a numbers-matching restoration where you want everything to look factory-correct.
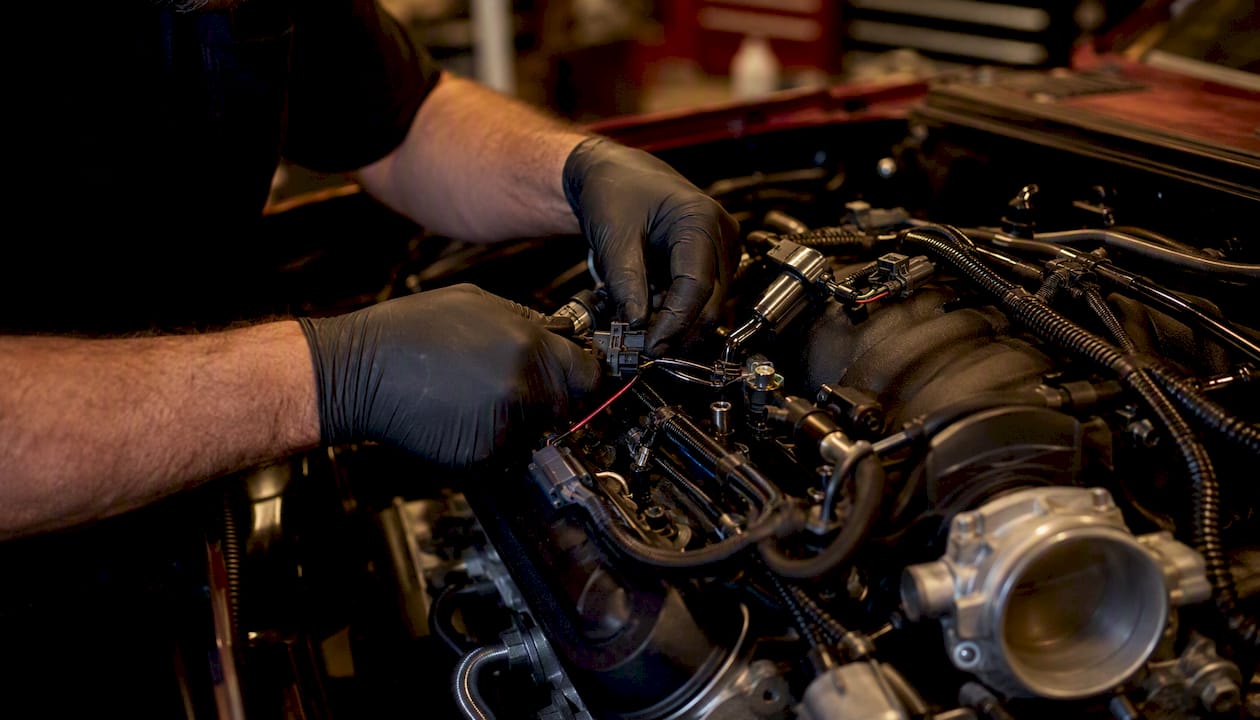
EFI and engine harnesses handle the wiring between a modern fuel-injected engine and its PCM, injectors, sensors, and ignition system. If you’re dropping a Gen III or Gen IV LS into a classic body, you need one of these in addition to a chassis harness. They’re not interchangeable.
Gauge harnesses wire the instrument cluster and accessory gauges separately from the main chassis harness. Useful when you’re adding an aftermarket gauge panel or keeping the factory cluster in a vehicle-specific build.
Pro-Series kits are the premium tier. They include higher circuit counts, OEM-style fuse blocks, and additional pre-termination work. They’re the right choice for builds with a lot of accessories, modern audio, or anything where you want the cleanest possible fuse panel.
What specs actually matter in a Painless harness?
The spec that separates Painless from generic wiring kits is the wire itself. Painless uses TXL wire across its harness lines. TXL stands for thin-wall cross-linked polyethylene insulation, and it matters for two reasons: the thinner wall makes the wire more flexible and easier to route through tight firewall grommets and behind dash panels, and the cross-linked insulation handles higher operating temperatures than standard PVC-insulated wire. The Painless Performance FAQ confirms TXL wire and the labeling convention as standard features across their harness lines.
| Spec | Painless Standard | Why It Matters |
|---|---|---|
| Wire insulation | TXL (cross-linked polyethylene) | Higher temp rating, more flexible than PVC |
| Wire labeling | Every ~12 inches | Trace any circuit without a diagram |
| Fuse block type | Blade fuses: Maxi, ATO, Mini | Widely available, easy to replace |
| Fuse block termination | Pre-terminated at factory | No crimping required at the fuse panel |
| Terminal material | Corrosion-resistant | Reduces long-term connection failures |
| Wire bundling | 18 pre-grouped bundles | Speeds up routing, reduces tangling |
The labeling convention is more useful than it sounds. On a 20-circuit harness, you’re dealing with 40+ wire ends. When a dome light stops working six months after install, a label every 12 inches means you find the circuit in under a minute instead of tracing bare wire across the whole car.
The fuse block matters as much as the wire. Pre-terminated blade-fuse blocks (Maxi/ATO/Mini) mean you can swap a blown fuse at any auto parts store. OEM-style blocks in Pro-Series kits go further, giving you a cleaner, more serviceable panel that looks intentional rather than aftermarket.
How much do Painless kits cost, and how long does install take?
Price ranges across the Painless lineup vary meaningfully by kit type:
- Entry-level universal chassis harnesses (18–21 circuits) sit at the lower end of the range and cover most basic restoration needs.
- Vehicle-specific direct-fit harnesses typically cost more than comparable universal kits because of the engineering work behind the fitment.
- Pro-Series kits carry a premium over standard kits at the same circuit count, reflecting the upgraded fuse block and additional pre-termination.
- EFI and engine harnesses are priced separately from chassis harnesses and are often purchased together for a complete rewire.
- Higher circuit counts (25–28 circuits) push cost up regardless of kit type. If you’re planning for a sound system, electric fans, and auxiliary lighting, budget accordingly.
Install time is where builders consistently underestimate the job. Forum reports from Jeep Enthusiast Forums show installs ranging from a single long weekend for a straightforward DIY job to 40-plus shop hours for a complex build with custom tie-ins. The harness itself isn’t the slow part.
What drives install time:
- Dash removal and reinstallation (often 4–8 hours alone on a classic vehicle)
- Seat and carpet removal for routing the main harness run
- Grounding work: cleaning, drilling, and securing dedicated ground points
- Custom tie-ins for accessories not covered by the base kit
- Troubleshooting any circuit that doesn’t work on first test
A competent DIYer with a clean, stripped vehicle and a full weekend can finish a straightforward chassis harness swap. Add EFI integration, a custom gauge cluster, or a vehicle that hasn’t been apart in 40 years, and you’re looking at multiple days.
How do you pick the right Painless harness for your build?
Work through this in order. Skipping step one causes most of the returns and re-orders.
-
Confirm fitment first. If a vehicle-specific harness exists for your make, model, and year, start there. Direct-fit kits match connector locations, routing lengths, and circuit assignments to your vehicle. Universal kits give you flexibility but require more cutting and measuring.
-
Count your circuits, then add buffer. List every electrical load the finished vehicle will run: ignition, fuel pump, cooling fans, headlights, interior lights, wipers, horn, radio, power windows, auxiliary lighting. Add at least 20% more circuits than you think you need. Running out of circuits after the dash is buttoned up is an expensive problem.
-
Match the harness to your engine and electronics. A standard chassis harness does not include EFI provisions. If you’re running a modern fuel-injected engine, you need a dedicated EFI or engine harness in addition to the chassis harness. Confirm that the kit includes provisions for your alternator output, starter solenoid, and PCM connections.
-
Check which connectors you’ll need to harvest. Some vehicle-specific builds require connectors from the original harness, particularly for factory gauges, switches, or column-mounted controls. Pull the old harness before you order and identify any OEM plugs you’ll need to reuse.
-
Verify documentation and support. Painless includes step-by-step instructions with every kit, and downloadable schematics are available on their site. Confirm the kit you’re ordering has a schematic available before you buy. Phone support is a real resource, and forum threads confirm that builders use it regularly during install.
-
Consider the Pro-Series if you’re building for the long term. The upgraded fuse block and higher circuit count cost more upfront but save time if you ever need to add circuits or diagnose a problem years later.
What do experienced installers do differently?
The single most overlooked issue in any harness install is grounding. A high-quality harness with poor grounds will give you intermittent failures, dim lights, and sensors that read wrong. Classicbroncos consistently identify grounding and vehicle disassembly as the two biggest time sinks in any harness job. Dedicate a separate ground point for the engine block, one for the body, and one for the chassis. Use a body engine ground strap rather than relying on the mounting bolts of accessories to complete the circuit.
Pre-install prep that separates clean installs from messy ones:
- Lay the entire harness out on the floor of the vehicle before connecting anything. Identify every bundle and match it to the schematic.
- Label every connector you remove from the old harness with masking tape before pulling it.
- Pre-wrap harness bundles outside the vehicle using UV-resistant tie wraps and braided loom. Fuse the ends of any cut braid to prevent fraying. Experienced installers on Vintage Mustang Forums specifically recommend this step for a cleaner, more serviceable result.
- Harvest any OEM connectors you’ll need before the old harness goes in the trash.
Pro Tip: Pre-wrap your harness bundles on a workbench before routing them into the car. It takes an extra hour up front and saves three hours of frustration trying to wrap loom in a cramped footwell.
Tools you need on hand:
- Ratcheting crimpers designed for the terminal style in your kit (Molex/Mohl-style pins for most Painless connectors)
- Heat-shrink tubing in multiple sizes
- Dielectric grease for every connector
- UV-resistant tie wraps and braided loom
- Digital multimeter
- Extra terminals and connectors (the kit rarely includes every specialty connector you’ll need for modern electronics)
Team Chevelle forum contributors are direct about this: professional-grade ratcheting crimpers and heat-shrink-sealed splices are the difference between a harness that works for 30 years and one that develops intermittent problems within two. Don’t use the cheap plier-style crimpers from a parts store blister pack.
Common mistakes:
- Mounting the fuse block before routing the harness (do it after)
- Routing wires near exhaust or sharp edges without loom protection
- Skipping the ground audit before powering up
- Testing all circuits at once instead of one at a time
Troubleshooting workflow: Test one circuit at a time with a multimeter before moving to the next. Verify ground continuity first on any circuit that doesn’t work. Check fuses and relays before assuming a wiring fault. For hardwiring tips that apply to routing and powered setups, the hardwired car tracker guide from Thatcham Trackers covers routing and connection best practices that translate directly to harness work.
What do Painless product listings look like when you’re shopping?
Knowing how to read a Painless product listing saves you from ordering the wrong kit. Here’s what to look for:
- Circuit count in the product name. A “21-circuit” harness is the base spec for most classic car restorations. A “25-circuit” or 28-circuit muscle car harness gives you room for accessories and future upgrades.
- “Pro-Series” in the name. This indicates the upgraded fuse block and additional pre-termination. The 25-circuit Pro-Series GM keyed column harness is a good example of what the Pro-Series designation looks like in a product title.
- Direct-fit model callouts. A listing for a 1965–66 Mustang chassis harness or a 1967–77 Ford truck chassis harness tells you the kit is engineered for that specific vehicle. These are not universal kits with a model name attached.
- EFI or engine harness designation. A listing like the 03–06 GM 4.8/5.3/6.0L EFI harness is an engine harness, not a chassis harness. You need both for a complete rewire with a modern engine.
- Included components list. Before buying, confirm whether the listing specifies a pre-terminated fuse block, labeled wires, and TXL wire. If those aren’t mentioned, ask.
- Trunk and tail harness connectors. Not every kit includes rear lighting connectors. Verify before ordering if your build needs them.
Painless’s own video content explains the difference between customizable and direct-fit chassis lines, which is worth watching before you shortlist a kit.
Where should you buy a Painless harness in the U.S.?
Buy from an authorized source. Painless Performance sells direct through their own website, and a network of recognized U.S. distributors and retailers carries their line. Authorized sellers stock genuine product, can verify part numbers, and honor the manufacturer warranty. Gray-market listings on auction sites occasionally show up at a discount, but counterfeit or mislabeled harnesses are a real risk, and a bad harness discovered mid-install is an expensive problem.
Before you click “buy,” check these on any listing:
- Seller history and verified reviews, not just star ratings
- Packaging photos showing the Painless Performance branding and part number
- A clear included-items list (fuse block, labeled wires, instructions)
- Downloadable instructions or a schematic link on the product page
- A stated return policy and a phone number for pre-sale questions
Prefer sellers who offer easy returns and real phone support. Wiring harnesses occasionally arrive with a damaged connector or a missing component. A seller who answers the phone and processes returns without a fight is worth a few extra dollars over a gray-market listing.
What does the Painless warranty cover, and what happens if something goes wrong?
Painless Performance covers manufacturer defects in materials and workmanship. Installation damage, incorrect fitment chosen by the buyer, and modifications made after purchase are typically excluded. The warranty is there for defective wire, a bad terminal crimp from the factory, or a fuse block that arrives cracked.
If you receive a damaged or defective kit:
- Photograph everything before you start installing. Box condition, part numbers, and any visible damage.
- Keep the original packaging until the vehicle is running. You’ll need it for any warranty claim.
- Note the part number and any serial or batch codes on the harness label.
- Contact Painless Performance directly with photos and proof of purchase. Their phone support line is the fastest path to a replacement part.
- If you bought through a retailer, contact the retailer first for a return or exchange. Most authorized sellers process this faster than a direct warranty claim.
- Label wire ends before cutting anything. A cut wire voids the ability to return the harness as-received.
For defects discovered during install rather than on arrival, document the specific circuit or component, photograph the issue, and call support before cutting or modifying anything. Painless phone support is well-regarded in the builder community, and forum threads confirm that they help builders work through problems rather than just directing them to a return form.
Why Ozkonic Kustomz recommends Painless harnesses for most builds
The builders who get the most out of a Painless harness are the ones who go in with realistic expectations: this is a high-quality kit that does the hard engineering work for you, but it still requires real labor, proper tooling, and solid grounding to deliver on its promise. For restoration specialists, classic car builders, and anyone doing an LS or EFI swap, the combination of TXL wire, pre-terminated fuse blocks, and documented fitment options makes Painless the most defensible choice in the U.S. market.
Where Ozkonic Kustomz will sometimes recommend going beyond the base kit: builds with modern digital clusters, high-output audio, or multiple auxiliary circuits often need extra terminals, specialty connectors, and additional loom. That’s not a knock on Painless; it’s the reality of building a modern vehicle on a classic platform. Ozkonickustomz carries Painless-compatible parts and complementary components to fill those gaps, and the team can help you identify what a specific build actually needs before you order.
Ozkonickustomz carries Painless harnesses and the parts to complete your build
Ozkonickustomz stocks a curated selection of Painless harnesses, from direct-fit classic car kits to Pro-Series and EFI engine harnesses, alongside the complementary parts that make an install complete: ground straps, terminals, and accessories. Every product ships from a vetted source with verified fitment, a straightforward return policy, and real pre-sale support if you need help choosing between kits.
For builders who want one place to source the harness, the female terminals and connectors you’ll inevitably need, and a modular wiring kit for truck builds, Ozkonickustomz has it in stock. Browse the Painless harness catalog at ozkonickustomz.com or contact the team directly for fitment confirmation before you order.
Sources
- Why Should You Choose Painless Performance Wire Harnesses? - Del City Blog
- How Painless is the Painless Wiring Install? | Jeep Enthusiast Forums
- Classicbroncos
- Painless 20120 Harness Installation | Vintage Mustang Forums
- Painless Wiring Install feedback… | Team Chevelle